Compiling Nethack with Tiles (MacOS)
How to compile/install Nethack with tiles on newer versions of Mac
Due to a lack of useful or up-to-date information on the subject, here's a short guide for how to compile the Qt Interface for Nethack on later versions of Mac, (Ventura and upwards, works on Apple Silicon)
Sadly, the homebrew version of nethack doesn't support tiles, hence this post.
Note: I highly recommend you have at least some level of proficiency around a terminal, otherwise an inordinate amount of pain will ensue if certain things go wrong.
Begin
Start by downloading Nethack's latest release build, v3.6.7, as a zip file.
Before you do anything else, you'll need to install Qt. Install the qt5 and pkg-config packages from Homebrew, and the XCode Command Line tools if you haven't already.
xcode-select --install
brew install qt5
brew install pkg-config
Once finished, unzip your Nethack download, and navigate to the folder via your terminal. cd ~/wherever/youputthefolder/NetHack-NetHack-3.6.7_Released/
More comprehensive information on building is available on the wiki.
Inside the root of said directory, run setup.sh with the appropriate hint, macos-qt as it uses qt5 instead qt4 (which is deprecated).
This configures the Makefile with the requisite information for building.
sys/unix/setup.sh sys/unix/hints/macosx10.10-qtIt should run without issue.
After, you'll need to edit the include/tradstdc.h file to fix a compilation error that apparently hasn't been fixed in the official release yet.
# still inside Nethack/, use nano if you're unfamiliar with vim
vim include/tradstdc.h
Starting at line 434, add these two lines indicated below, without the surrounding comments or "NEW LINE"
#if !defined(__linux__) || defined(GCC_URWARN)
/* disable gcc's __attribute__((__warn_unused_result__)) since explicitly
   discarding the result by casting to (void) is not accepted as a 'use' */
/* #ifndef __clang__ NEW LINE */
#define __warn_unused_result__ /*empty*/
#define warn_unused_result /*empty*/
/* #endif NEW LINE */
#endif
Then save the file (:wq!) and run the following command before you build to configure your C installation,
if the compiler has trouble finding it (the 'stdio.h not found' error)
export CPATH=/Applications/Xcode.app/Contents/Developer/Platforms/MacOSX.platform/Developer/SDKs/MacOSX.sdk/usr/includeAnd now build your application either in the base directory or in /src.
You can find your QT path by running brew info qt5, it'll look something like /opt/homebrew/Cellar/qt@5/5.15.12
make WANT_WIN_QT=1 QTDIR=[QT Path]After it finishes building, run make install to create your executable. If you've built successfully, it should output a short blurb about the game version and what platform it was built for (darwin...)
By default, your nethack installation is located at your home directory, at ~/nethackdir.
For one last step before you can run Nethack with working tiles, you'll need to configure your tileset first, as a bug in the build process doesn't properly convert the default tileset to bmp files.
You can download the default tileset for 3.6 here. Other tilesets are also linked below. My personal favorite is Nevanda 32x.
After you've downloaded it, convert the png to a .bmp file with your program/website of choice. If you have the ImageMagick CLI installed, it's a simple matter of running magick mytileset.png mytileset.bmp.
Move your freshly-baked bitmap directly into the /nethackdir folder, then edit your .nethackrc file.
If you don't have the config file already, create it in your home directory and open it.
touch ~/.nethackrc
vim ~/.nethackrc
Inside, add the following line anywhere, replacing Tileset.bmp with whatever you named yours. (no relative paths)
OPTIONS=tile_file:Tileset.bmp
# if you use a higher-resolution tileset, specify the width/height at the end, e.g.
OPTIONS=tile_file:SharperTileset.bmp,tile_width:32,tile_height:32
Finally, run the nethack executable inside nethackdir, and enjoy. If your paths and filenames are correct you should be dungeon-crawling with gloriously colored pixels.
If the map interface is too small, you can adjust the tile width/height in Game > Qt Settings, increasing or decreasing the resolution in pixels by orders of magnitude.
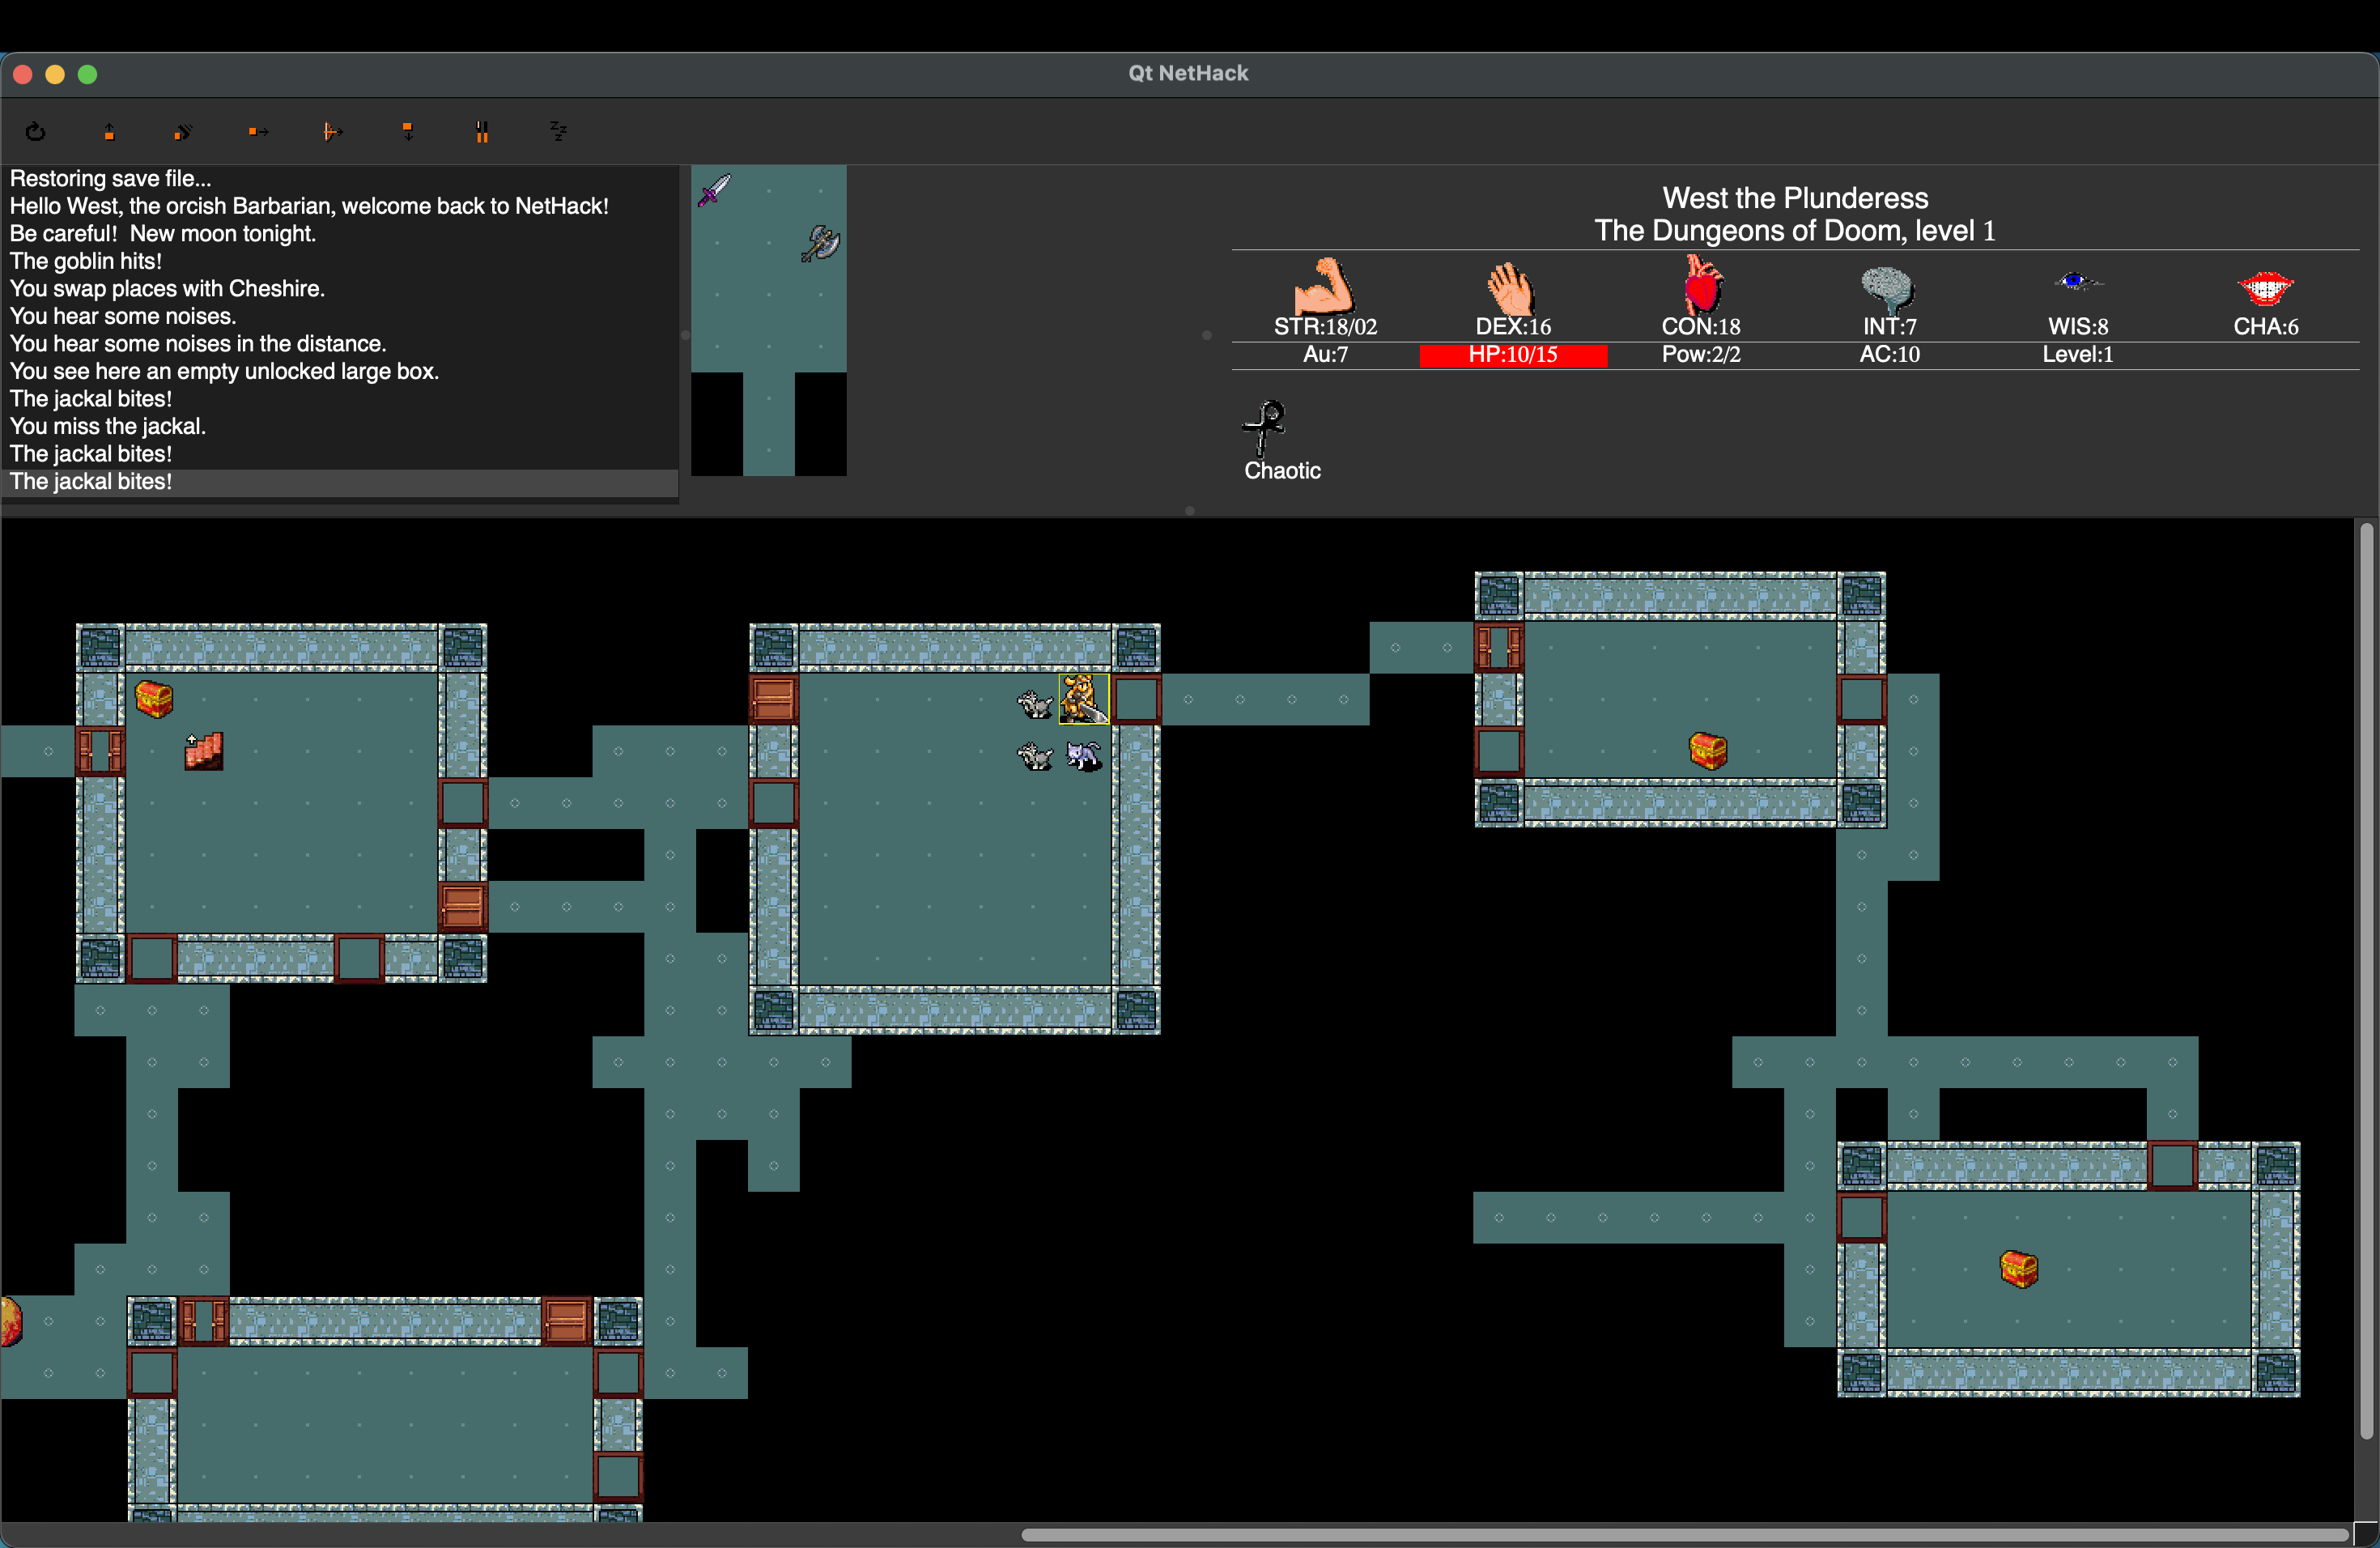
 A barbarian wanderers around a pixel-painted dungeon, on a freshly compiled version of Nethack Qt
Fin
The Qt verion's user interface does leave a lot to be desired, lacking the simple elegance of Curses' cleanly organized windows, but that's the price you pay in search of precious pixels.
To the poor internet user reading this after having scoured the web to no avail, I hope this helped.