Minecraft on a Mini PC
How to setup an Intel NUC to run a Minecraft Server
Updated
This is a brief guide detailing the setup of an Intel NUC, and a tutorial on how to run a Minecraft server on it.
In this blogpost we’ll be sparring in a headless Linux environment, so keep that in mind.
You can also use a cloud service provider to host your Minecraft server, which comes with its own pros and cons.
I Can’t Believe It’s Not PC!®
First of all, what is a mini PC? It’s just a computer that’s been shrunk down to 20 centimeters, with a few odds and ends removed to get everything to fit.
The most important thing that’s missing is a tangible interface. Without peripherals plugged into it, it’s a black box of mystery and heat.
This makes mini PCs inefficient for use as a laptop, but but more suited to use as an unobtrusive home server or desktop computer.
 The right way to use a mini PC
A mini PC is a good choice for a home server because of its small size, and general noiselessness. You can stash it away in a corner with a power source and it’ll run fine.
Due to their diminuitive size, some models may whirr at annoying volumes. You can either tune the BIOS settings for less power consumption or, unlike people, let the device bask in its birthday suit in an open space. As a last ditch resort you can turn to a noise-reducing case, but they’re usually so large they defeat the point of having a mini PC.
 Apart from looking like an ominous monolith, this case cools down energetic NUCs via heat dispersion
Choose Your Fighter!
There are a lot of options out there. Like an exotic market packed with merchants loudly advertising their wares, the mini PC market has a lot of competing vendors.
With haste, I would recommend an Intel NUC as a good candidate. Brushing aside the fierce microchip wars, their micro machines are well-rounded creatures with good build quality.
The top-of-the-line models will make your bank balance appear even more lugubrious than usual, but the slightly older ones still shine.
Models are identified by a unique long string of gibberish that starts with NUC. I personally am using the NUC10i3FNH model, which is a pick-your-parts kit (requires assembly)
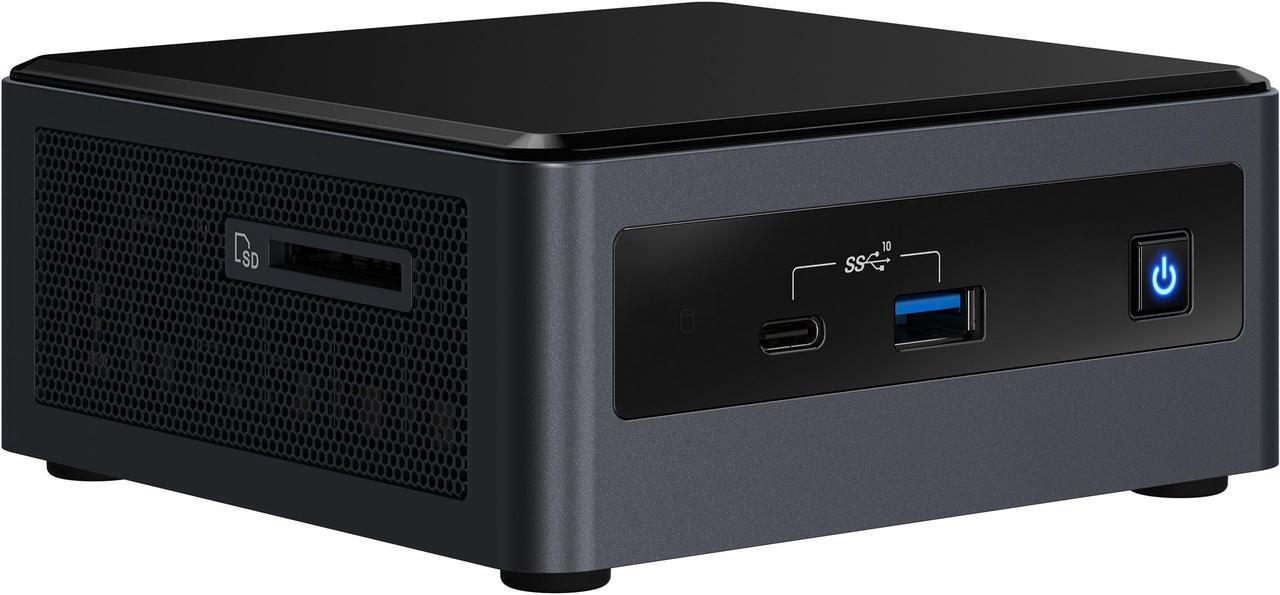 The
The NUC10i3FNH in all its glory (now in full color!)
Build-A-Brick
The assembly proccess of the computing brick.
Firstly, set aside your RAM stick and SSD you purchased separately and unwrap the box delicately.
Gently lift the golden idol from the booby-trapped altar. Flip the PC over and loosen all four foot-screw-nubs until they rattle in place. If you’re like me and belong in a Gary Larson comic, heed common sense and remember to use a large screwdriver.

Once it’s unscrewed, gently lift the cover off. There’ll be a magnetic tape umbilical cord shackling it to the motherboard, so lay it down next to the freshly skinned computer.
 A diagram of the inside of the mini PC, which is unfinished. You’ll have to use your imagination.
There are two slots for RAM and one for the SSD as pictured above. After you’ve finished (gently) plugging in the sticks, you can screw the cover back on and plug it in with the included cable.
Etch-A-Sketch Operating System
The second step to greatness is “etching” your preferred operating system onto a flash drive, known as a bootable drive. Scrounge up a flash drive and search the interwebs for your preferred operating system (preferrably from an official source).
As gadget gurus, we’ll be installing Ubuntu server.
Download the image file, and use an etching program to flash the .iso onto your thumb drive.
I used balenaEtcher for its ease of use and intuitive UI.
Remember to plug in your thumb drive first
 the process of etching
To Raise The Dead
Before we can perform unholy rituals, we have to obtain a monitor and keyboard. They will function as the messenger to our soon-to-be-gray box.
At this stage the Mini PC has but coagulated ones and zeroes jammed in its veins, known as the BIOS.
This is the base operating system lying dormant in its tomb, and it has a most rudimentary set of functions that don’t include the ability to connect to bluetooth devices (it lacks bluetooth drivers). You’ll need your older-school peripherals to perform the task.
Once all our limbs and body parts are prepared, we’ll perform some necromancy and bring this metallic cadaver to life with electricity.
Calibrate your decorative lightning rod and plug in your peripherals. Swiftly and smoothly insert the thumb drive, then the ethernet cable to your router. Bask in the moment before finally jamming in the power cable.
With a theatrical flourish, press the power button and wait.
The fan noisily expels stale air from its sides. The monitor alights with a blaze of color. It’s alive! A clap of thunder dashes across the night sky, illuminating you and your newly risen abomination.
The fruits of your labor appear on screen: a glowing white Intel logo standing out amongst the tar black of the other pixels. Shortly after, the tapestry is replaced by a barebones startup menu.
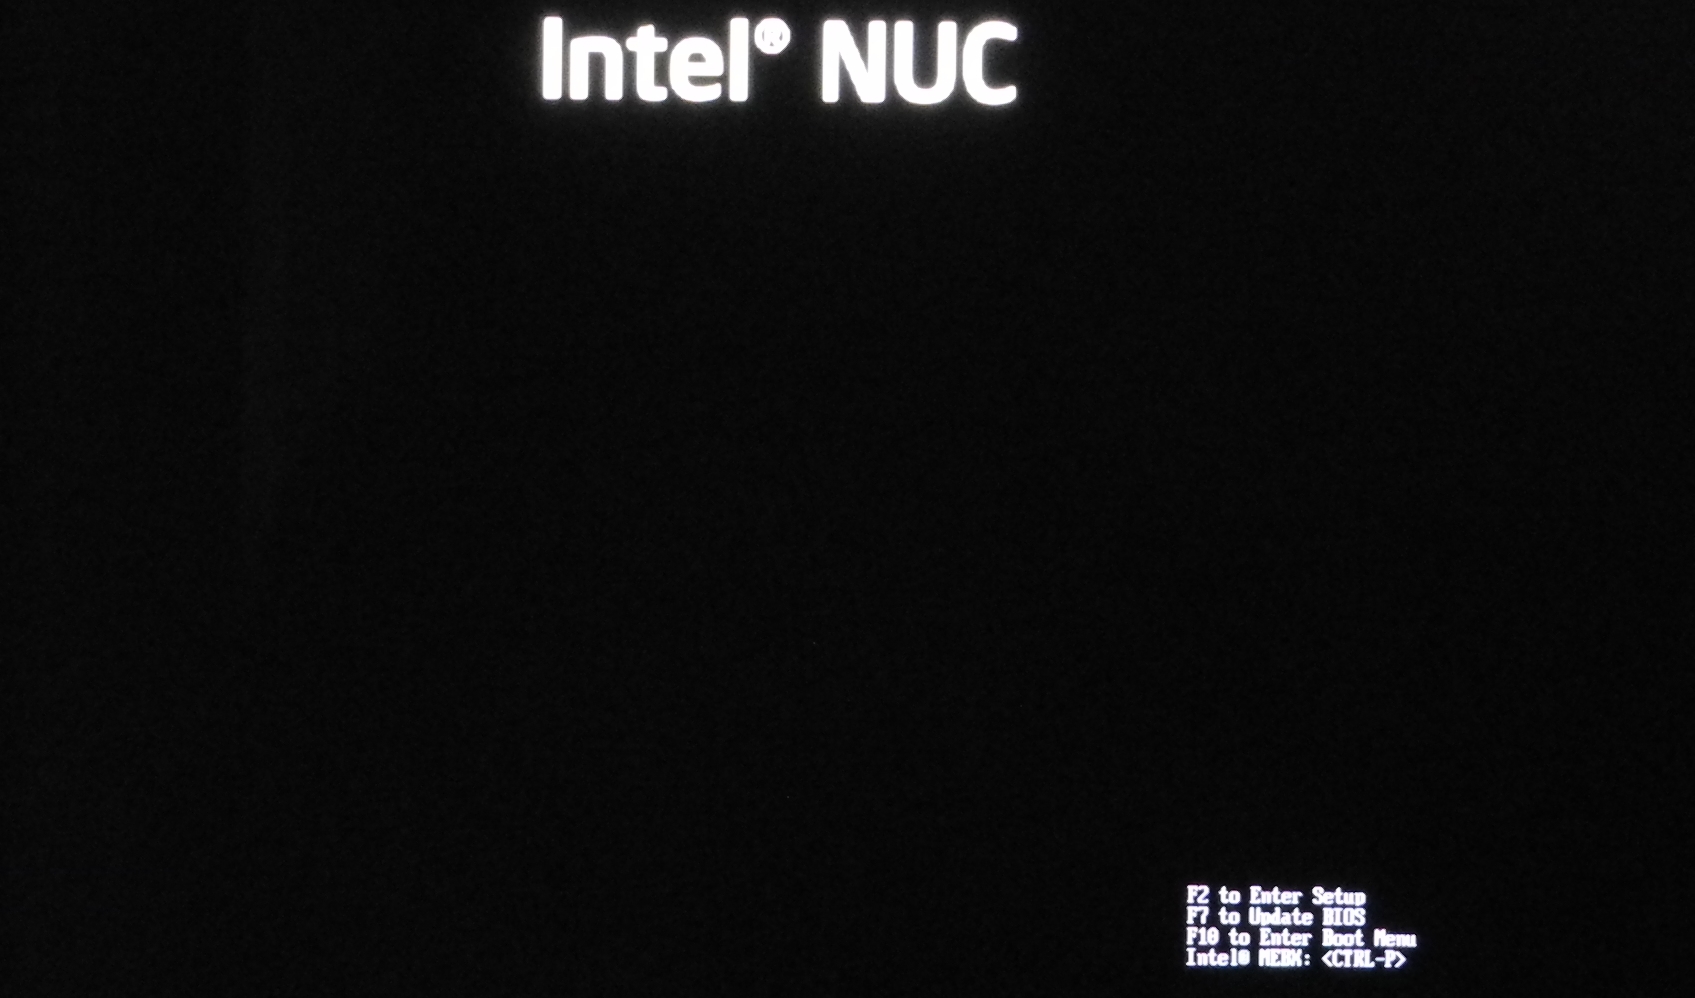
(Shakespearian occult mania wanes)
Setup Settings (s)
Now that we’ve returned to normality, select the “Install Ubuntu server” option and wait out the cascade of logs that spill over the screen.
With a reasonable amount of caution, fine tune whatever settings you encounter. System languages and boot sectors are a trifling matter when compared to the most important step of all, christening your creation with the perfect name.
[insert GIF of WalNUC my beloved]the only thing missing is a walnut chassis
Note: Install Docker during setup, it will be in the list of optional packages to install. This is for running the Minecraft server.
Now, given free reign to the command line with but sudo as a safety harness, install nmcli through your ethernet connection and run a few commands to connect to your WiFi network.
nmcli d
nmcli d wifi list
nmcli d connect $wifiNetwork
As an optional step you can set up SSH to remotely connect to the mini PC from another laptop. The area around your router may be a desert of creature comforts, so it may help to perform cool hacker thingz while reposing on an armchair with deep cushions.
For anyone still following along, this means you can put the monitor and keyboard back and go sit in a more comfortable location.
Running The Block Game
At last, the content you clicked on this blog post for! To do this, you’ll need a few things as listed below:
What You’ll Need
-
Docker For running and deploying the server. Not strictly required but provides containerization and ease of management
-
Admin access to your home router For port forwarding your local IP address
-
A Domain Name To function as your server’s IP address
-
Basic command line proficiency All readers will be assumed to know her/his way around the bash shell
The first step is to find a suitable folder to house your server. I put mine in my home directory.
Quickly mkdir a folder to be your data directory and create a docker-compose.yml file inside.
This is your soon-to-exist docker container’s config file.
Inside that file is a list of options to choose when creating and running your docker container, such as the image you’re using, what ports you want and the location to your data volume.
An example docker-compose file for running a minecraft server:
version: "3"
services:
  minecraft:
    image: itzg/minecraft-server:java8 # the docker image for this container
    container_name: mc
    restart: on-failure
    user: root # Runs the container as root, use this if you have permission errors
    ports:
      - 25585:25565 # Customizing the port to be 25585 instead of 25565 (by default it is 25565:25565)
    environment:
      EULA: "TRUE"
      TZ: "Antarctica/Davis"
      ENABLE_AUTOPAUSE: "TRUE"
      AUTOPAUSE_TIMEOUT_EST: "900"
      TYPE: "FORGE" # The server type (not necessary for vanilla)
      VERSION: "1.16.5" # Minecraft version
	    FORGEVERSION: "36.1.3" # Forge build version
      INIT_MEMORY: 20G
      MAX_MEMORY: 20G
      JVM_XX_OPTS: "-XX:+UseG1GC -XX:+ParallelRefProcEnabled -XX:MaxGCPauseMillis=200" # JVM arguments
      OPS: "OrangeBurrito_" # list of OP'ed players, separated by spaces
    volumes:
      - /home/orangeburrito/Documents/mc_server:/data
		# Where the your data directory is located and where minecraft files go (absolute path)
		# replace [/home/orangeburrito/mc_server] with your path
Once you’ve finished tailoring your docker-compose file, run docker-compose up -d and wait.
the
-dflag in the command refers to Detached Mode, meaning that the container will run in the background.
To see what’s happening, run docker logs [name of your container].
You can optionally add a --since flag to only view the logs generated in a given time period.
It takes around a minute for a vanilla server to start up. For a heavily modded forge server it may take around 5-10 minutes.
You’ll see logs like this once the server has started:
[13:55:37] [server thread/INFO] [minecraft/LoggingChunkStatusListener]: Preparing spawn area: 98%
[13:55:38] [server thread/INFO] [minecraft/LoggingChunkStatusListener]: Preparing spawn area: 99%
[13:55:38] [server thread/INFO] [minecraft/LoggingChunkStatusListener]: Time elapsed: 53343 ms
[13:55:38] [server thread/INFO] [minecraft/Dedicatedserver]: Done (55.363s)! For help, type "help"
[13:55:38] [server thread/INFO] [minecraft/Dedicatedserver]: Starting remote control listener
[13:55:38] [server thread/INFO] [minecraft/RConThread]: Thread RCON Listener started
[13:55:38] [server thread/INFO] [minecraft/MainThread]: RCON running on 0.0.0.0:25575
To join the server, open Minecraft and type in your Mini PC’s IP address and your server’s port (as specified in the compose file) and press Connect to server.
An example server IP address: 192.168.1.179:25585
192...179 is my Mini PC’s local IP address, and 25585 is the server’s port.
 how your Minecraft server will appear in the Multiplayer Tab in-game
Hallelujah! You’ve now got your very own Minecraft server up and running. Now what about customizing it?
Pimp My Pixels
Say you want to use your custom Minecraft map on your server, or add a few mods to the mix.
Looking at the data folder, there’s a few important files to take note of, firstly the server.properties file.
This is your server’s config file and contains options like enabling whitelisting and changing the Message Of The Day ( the text that appears below the server name).
 Inside your server’s data directory
If you want to change your server world, you can either swap out the existing world folder for your custom world, or change the level-name property in server.properties to match your custom world folder.
If you’re running a Forge/Fabric server, there will be a mods and config folder that contain, you guessed it, mods and mod config files!
For more information, the Docker Minecraft Server’s Github has useful documentation about fine-tuning your server.
Pushing Ports
Right now your server is only running on your local network, meaning your friends off and away in Great Places won’t be able to join it.
You’ll need to perform the vaunted mystical and mysterious spell known as Port Forwarding to yank your little old server out of its podunk little LAN network and into the big, bustling metropolis known as the World Wide Web.
To dispell the thick aura of mystery surrounding this term, here’s a quick explanation:
Port Forwarding allows computers connected to the ‘net to connect to a computer in a local network (A.K.A a computer behind a router).
This is where “admin access to your home router” comes into play. Every router’s user interface is different, but in general they follow the same routine.
Type in your router’s IP address into your browser and log into the router’s webpage.
You can find login info on the back of the router

Navigate over to the Port Forwarding section of your router and create a new Port Forwarding Rule.
Both the public and private ports should be 25565, or whatever ports you specified in your docker-compose file.
The protocol should be TCP/UDP.
Domain Time
If you use Namecheap as your domain name registrar, there’s already a barebones guide on how to connect your Minecraft Server to your domain, at this link.
You can find your router’s IP Address by googling “What’s my IP Address”.
An Optional Step: if you haven’t paid for a static IP Address, you can enable DDNS instead.
Your home network and its devices will be assigned new IP addresses every 24 hours by your ISP. This is an issue when you want to map a domain name to a constantly changing IP address, thus forcing you to manually update it on the daily. If you’re like me and are surprised at the exorbitant prices for static IP addresses (it’s exactly what it says on the tin), you can use the Dynamic Domain Name System and have the program automatically update the address mapped to your domain name.
 Insert pic to break up all this text, semi-related?
On my NUC, I installed ddclient as a docker container and created a docker-compose file, which I promptly ran to generate the ddclient config file.
Inside the file I used my text editor of choice (I’m leaning towards vim nowadays) to insert my server URL, domain password and optional subdomain.
After a quick re-run of the compose file and checking of the logs, it was up and running.
SUCCESS: updating mc: good: IP address set to [Port Forwarded IP Address]This is what your logs should look like ⬏
Now the last thing to do is type your domain into your Minecraft client and join. From there, you can share the server’s IP Address to all your friends and peoples of the web. 🎉 yee